I recently got an Ice Barrel 500 for my cold plunge setup, which is a fantastic insulated barrel. I wasn’t looking forward to constantly adding ice to it and consumer chillers seem ridiculously expensive for what they actually are, so I decided to take the DIY route instead, assembling my own chiller system in a deck box for far less than a pre-made unit. Below is my process so you can build your own.
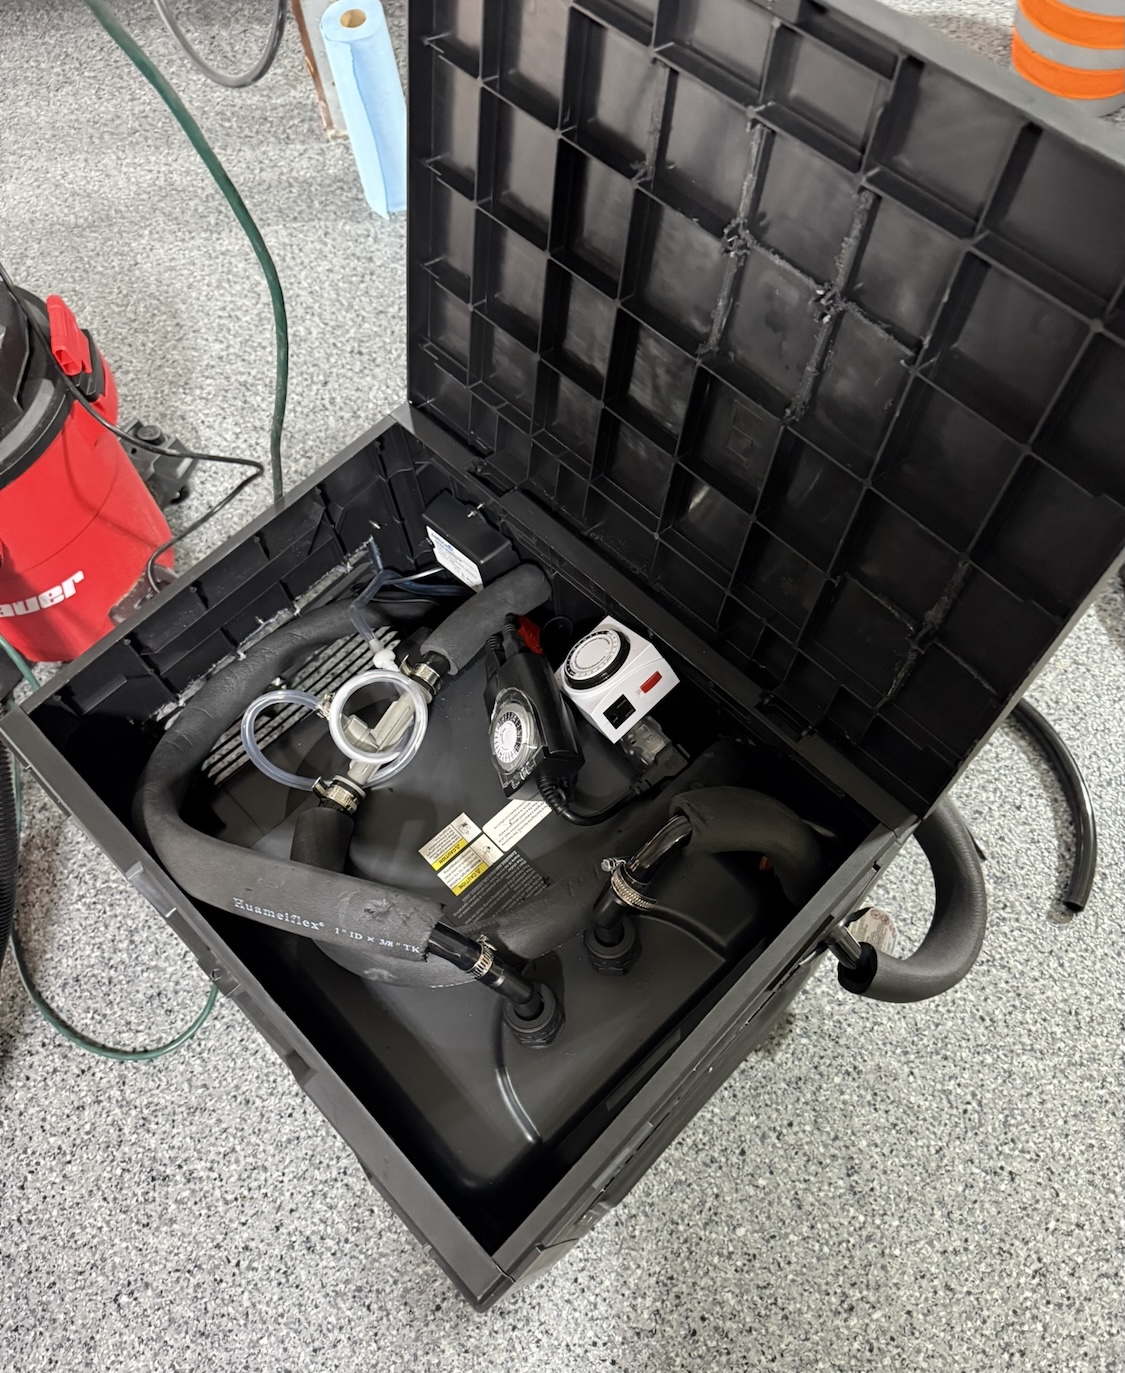
How the system works
The Ice Barrel has two female 3/4” NPT ports, one on top and one on bottom, enabling you to create a loop. Water exits the lower port of the barrel, passes through a coarse strainer and pump, and then enters the chiller. After leaving the chiller, the flow splits between the fine filter and ozone Venturi before recombining and returning through the upper port. Making the loop flow from bottom to top allows the water pressure inside the barrel to help feed the pump.
Chiller and pump performance
The centerpiece of the setup is a Vevor CL-850 aquarium chiller, supplied by a Danner Aqua-Mag 1200 pump.
The chiller has a 1/3 HP compressor with a cooling capacity of around 2,900 BTU per hour. At the Ice Barrel’s full 94 gallons, dropping the water temperature by 20F requires removing approximately 16,000 BTU. This works out to around 6 hours of runtime, with buffer for heat loss. A 1/2 HP chiller could also do the job, but this seemed more right-sized and would keep temperature better.
The pump is rated at 1,200 GPH. This is intentionally oversized, since the various hoses, filters, and chiller eat a meaningful chunk of its rated capacity. For example, at 10 feet the pump’s manual specifies only 580 GPH. The chiller’s manual specifies needing around 317 GPH of circulation, so the pump comfortably clears the chiller’s minimum even after losses.
Parts
Below is all the equipment you’ll need to build this yourself. YMMV but I was able to get everything online for under $1000.
Main equipment
- Vevor CL-850 1/3 HP aquarium chiller
- Danner Supreme Aqua-Mag 1200 GPH pump
- GE GXWH20T whole-house filter housing
- 20-micron, 10” by 2.5” pleated filter cartridges
- 3/4” female NPT inline strainer with 100-mesh screen
- Ambohr SPA-124 100 mg/h ozone generator
- 3/4” barbed ozone Venturi injector
Hose and insulation
- 25 feet of 3/4” ID by 1” OD black vinyl tubing
- 1” ID foam pipe insulation
- SAE #12 stainless-steel hose clamps
- Short lengths of 5/8” ID hose supplied with the chiller
- Ozone-resistant tubing and check valve supplied with the ozone generator
Depending on the total length of your hoses, you may need multiple packages of insulation to cover everything. It’s also worth buying more clamps than you think you’ll need, since the build easily consumes them.
Recommended fitting inventory
This fitting inventory is a rough guide since there’s multiple ways to assemble the fittings together. You’ll need two different kinds of barbed adapters for the main lines and the chiller lines. Matching male and female threads correctly can save on parts. I was pretty inefficient, needing several nipples to bridge the tees, strainer, and filter housing, so I recommend going to your local hardware store and assembling it in the store. Also watch out for G3/4 (BSPP) fittings, a British thread that looks close to NPT but isn’t the same standard. I actually got away with threading a couple into NPT ports but I wouldn’t count on it.
- Two 3/4” female NPT full-port ball valves
- Three 3/4” female-threaded Schedule 40 tees
- Seven 3/4” male NPT nipples
- Six 3/4” male NPT to 3/4” hose-barb adapters
- Two 3/4” female NPT to 5/8” hose-barb adapters
- Two 3/4” female x male NPT 90-degree elbows
- Teflon tape
- Optional pipe-thread sealant
Enclosure and electrical parts
The enclosure needs to be big enough to house all the parts and waterproof the system. I highly recommend using GFCI and outdoor-rated electrical parts for safety.
- 31-gallon resin deck box
- Two 12” x 12” gable vents
- GE Advanced clear waterproof silicone
- Short stainless-steel panel screws and washers
- Dual plug mechanical timer
- Single plug mechanical timer
- Three-foot 12/3 GFCI extension cord with three outlets
- 25-foot 16/3 outdoor extension cord
Tools
A few power tools will make the build much faster and easier. I used the multitool to cut the large rectangular openings and a spade bit for the hose and electrical penetrations.
- Cordless drill/driver
- Oscillating multitool or Dremel
- Spade-bit set
- Screwdrivers
- Adjustable wrenches
- Utility knife or hose cutter
- Tape measure and marker
Cutting the deck box
The first step is making the deck box into a suitable enclosure. Simply putting a chiller inside an unventilated deck box would cause it to overheat. I cut a 12” by 12” opening into each side of the box and mounted two screened vents over the openings.
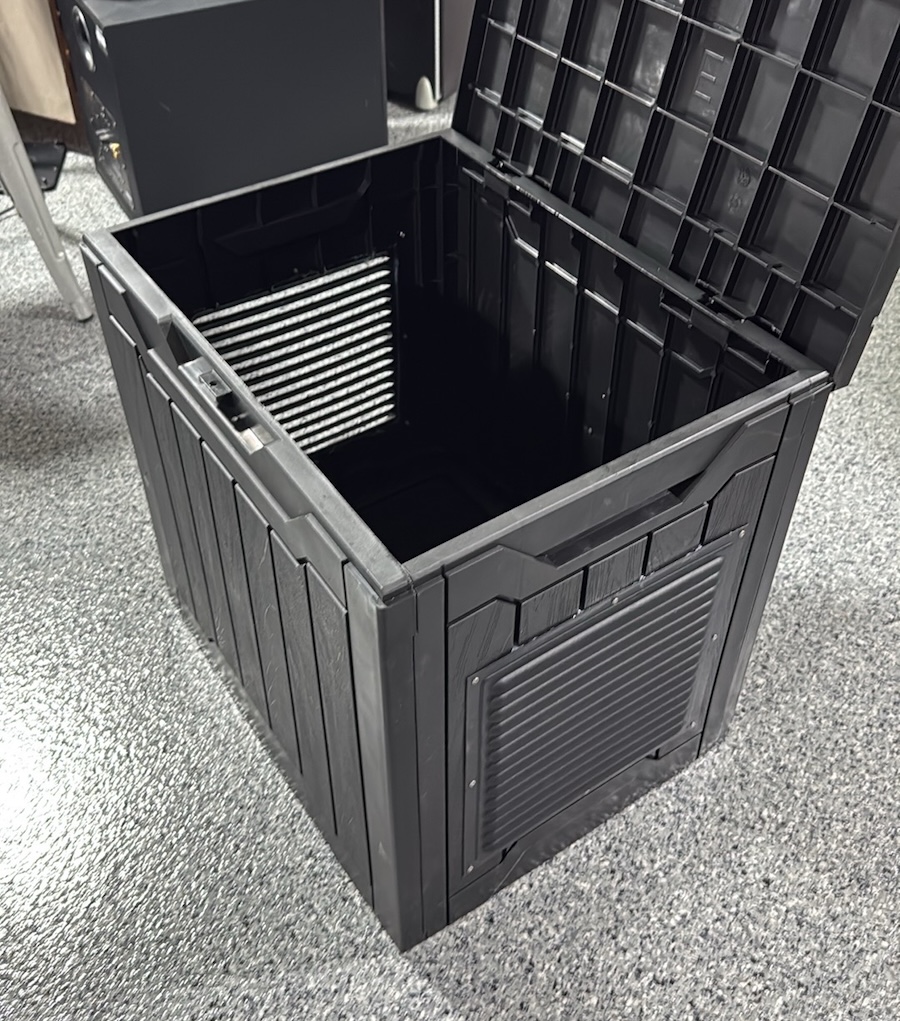
I positioned the chiller so one vent supplies its air intake and the other gives its exhaust a short route out. I cut the openings with a multitool, drilled panel holes, then sealed the perimeter with clear silicone. Passive vents work in the PNW, but I’d consider an exhaust fan in other climates where the outdoor air is much hotter.
I also had to remove several portions of internal ribs so the lid would close without crushing the insulated hoses coming out of the chiller. Be careful to remove only the material required as the ribs provide much of the box’s stiffness.
Connecting the components and Ice Barrel
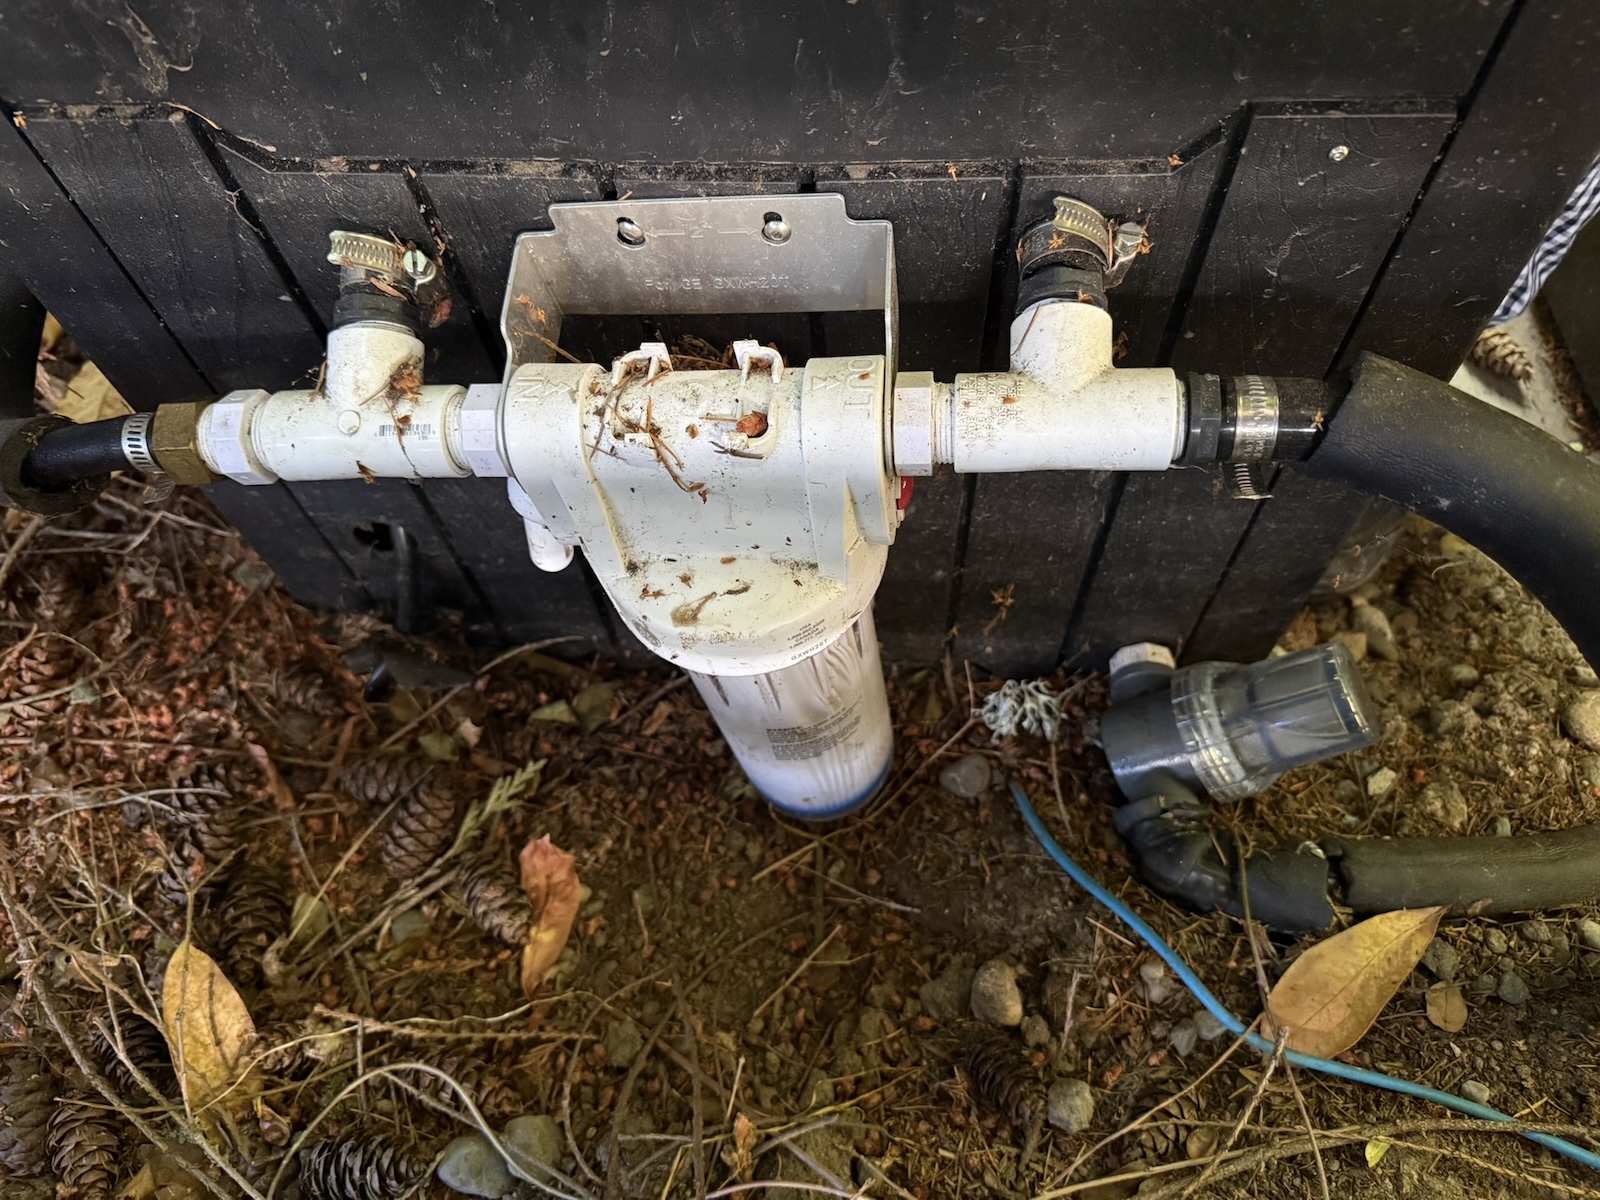
Before connecting any plumbing, I put the chiller, pump, filter, and fittings into the box and closed the lid to check that the chiller could breathe, everything remained accessible for maintenance, and that all parts fit nicely. The clear GE filter housing gets heavy when full, so it should be mounted to the outside of the box with its bracket rather than hanging entirely from the tees and nipples (it also makes it much easier to maintain).
At the bottom port, I removed the spigot that shipped with the Ice Barrel, then threaded a male nipple into the port, then a tee. I put the spigot back on one branch of the tee to keep a drain, and the other branch has a male nipple, female NPT ball valve, then male NPT to 3/4” hose barb.
At the upper port, the order is a male-to-female elbow, male nipple, female NPT ball valve, then male NPT to 3/4” hose barb. The valves let me isolate the equipment for maintenance without emptying the entire barrel.
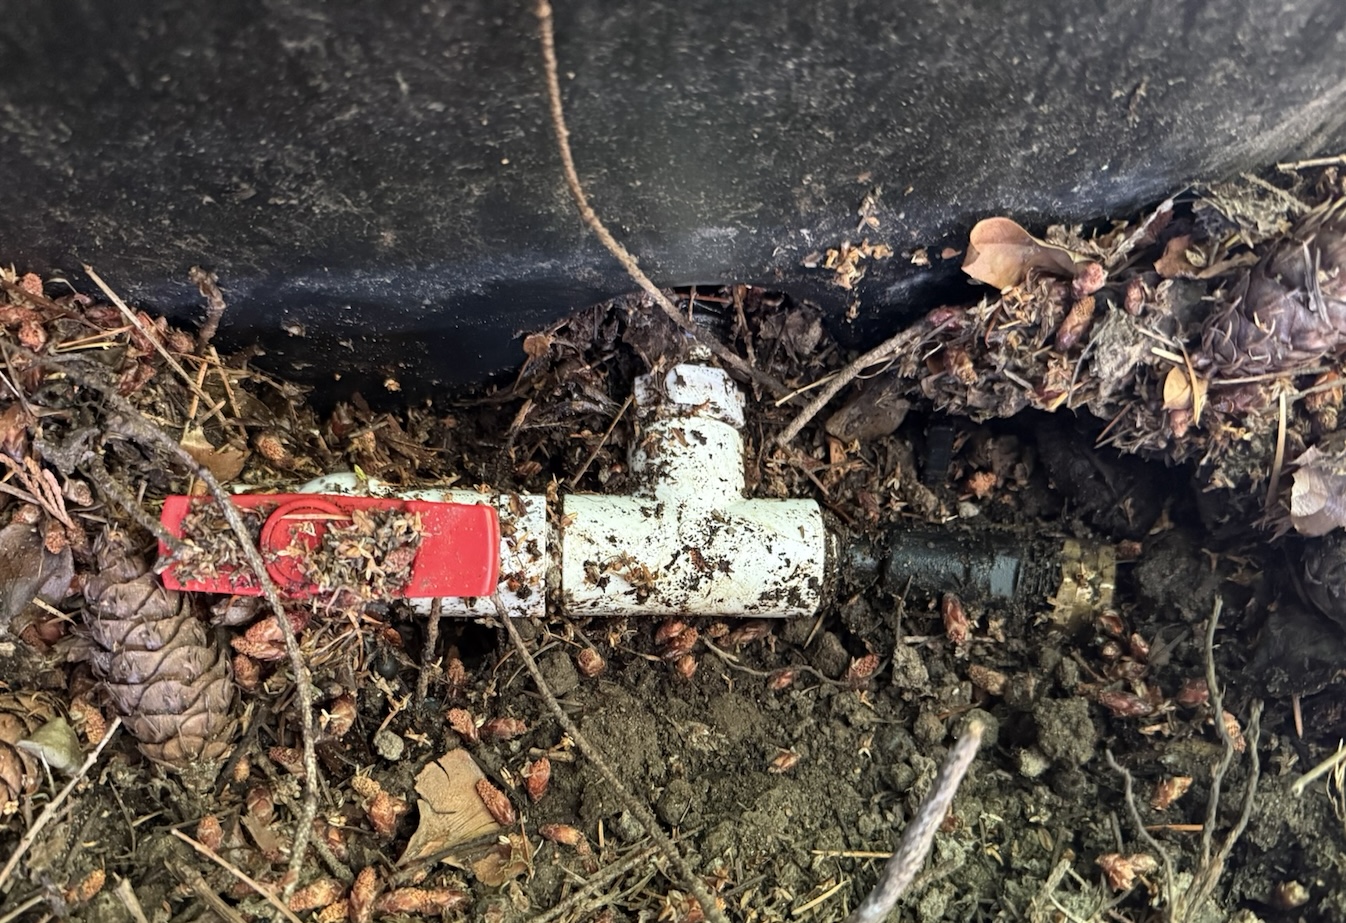
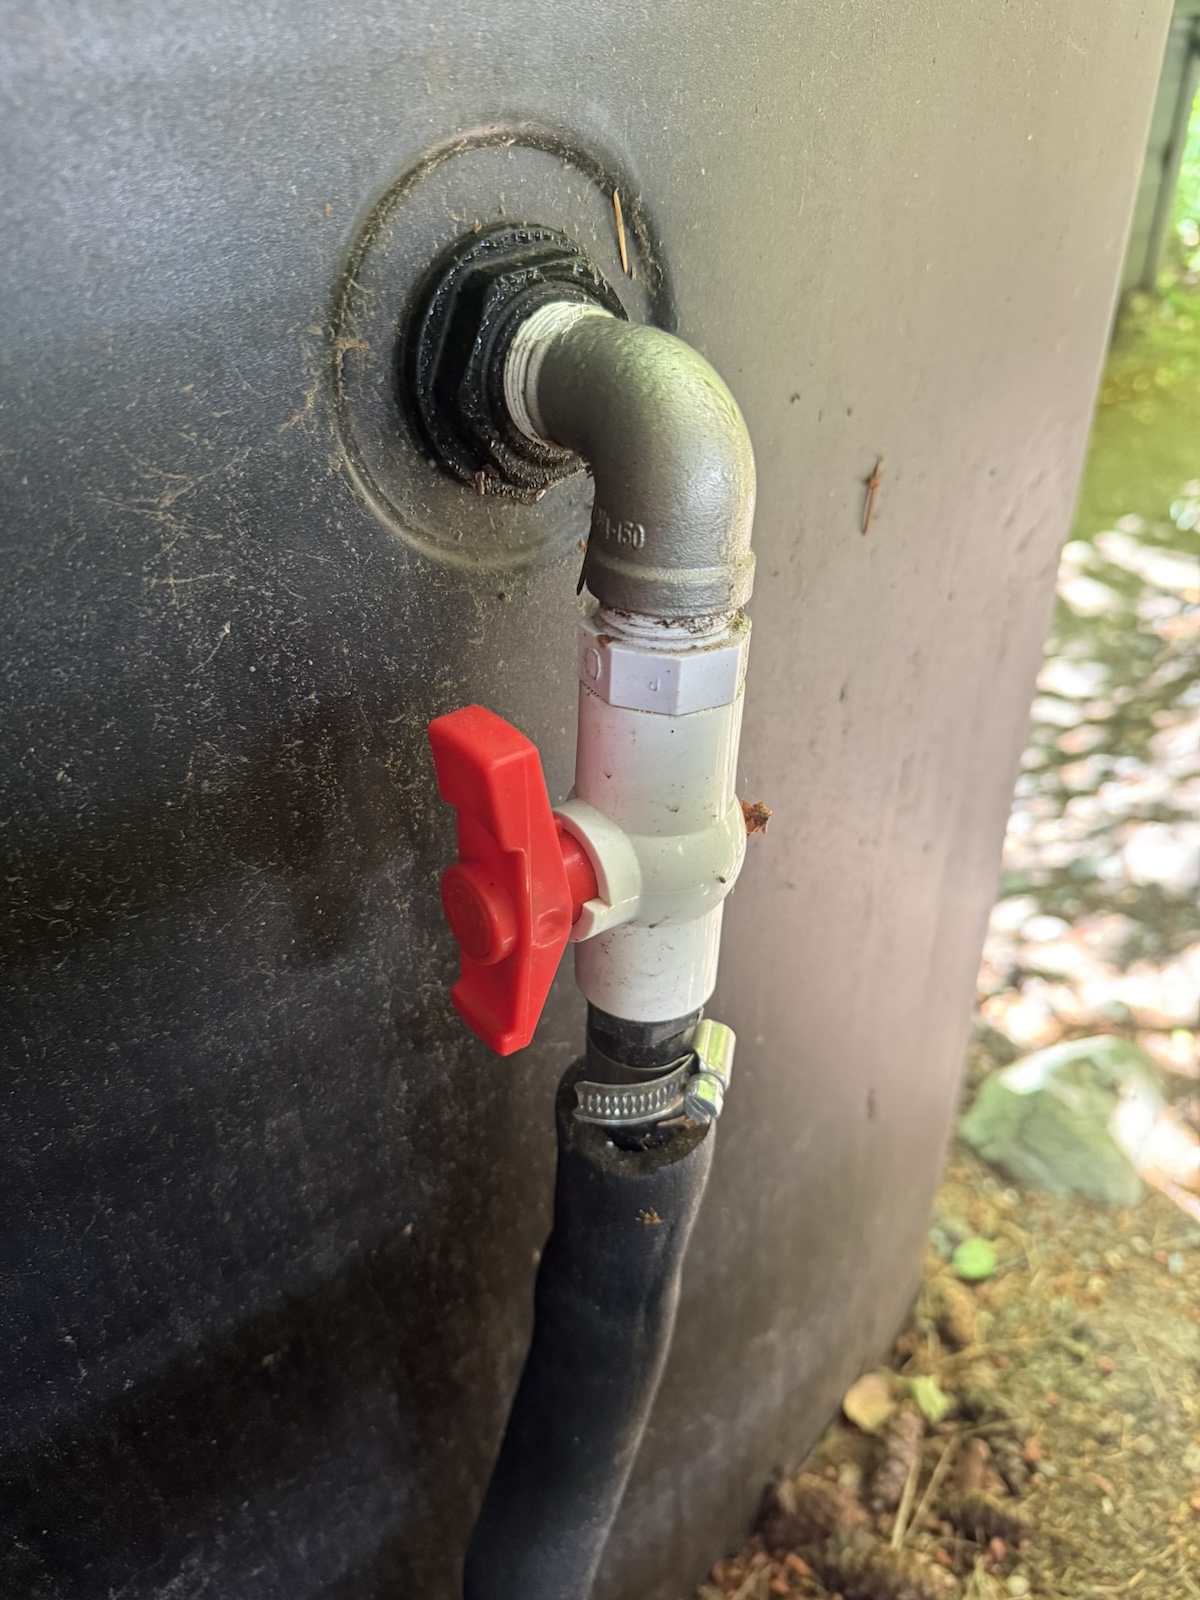
I added Teflon tape to all the NPT connections and stainless-steel clamps on every barb connection. Make sure to start all fittings by hand before using tools! Ice Barrel recommends hand-tightening its bulkhead fittings and using no more than roughly a quarter turn with a tool.
Adding the pump, filters, and ozone
The lower hose goes through an elbow, passes through the 100-mesh inline strainer, then enters the deck box before reaching the pump. The strainer sits outside the box for easy maintenance, catching leaves and other large debris before they reach the pump impeller.
The pump outlet is 3/4” male NPT, so it needs a 3/4” female NPT to 5/8” barb adapter, which lets you connect the chiller’s hose to its inlet.
After going through the chiller, the first tee divides the flow into two paths. The main path passes through the GE whole-house filter and its fine 20-micron cartridge, which polishes out anything the strainer let through. The secondary path passes through the Venturi injector. Both paths join at the second tee before returning to the barrel (some water bypasses the filter, but the system continuously recirculates so it eventually cleans it).
                     ┌─ 20-micron filter ─┐
Chiller → first tee ─┤                    ├─ second tee → barrel
                     └─ ozone Venturi ────┘
The pressure difference between the two tees drives water through the Venturi. As water accelerates through the restriction, it creates suction at the small ozone port, encouraging the ozone to mix well. The ozone generator is connected to the Venturi with the supplied hose and a check valve. It’s critical that the check valve is oriented correctly so that it stops water from entering the generator.
Insulating everything
I insulated every practical cold-water run, including the hoses between the barrel and enclosure. This reduces heat gain and prevents the plumbing from creating condensation inside the box. The main hose is 3/4” ID with a 1” OD, so 1” ID foam insulation slides directly over it. I left enough exposed hose near each fitting to make it easy to inspect the clamps and threaded joints.
Electrical setup
The pump and chiller share one outdoor timer, the ozone generator is on a second timer, and both receive GFCI-protected power. Make sure the timers you get are rated to carry the power of the chiller and pump.
The timer provides the overall circulation window, while the chiller’s internal thermostat decides when to run the compressor. My schedule is 8+ hours per day for the pump and chiller and 4-6 hours per day for the ozone. I’d tune it based on how clear the water stays in your environment. If it gets very cold during the winter, make sure the pump is running long enough that the water doesn’t freeze in the plumbing.
It’s important that the ozone period is entirely contained inside your circulation period. You never want to run the ozone without the pump running, and I added buffer to ensure the pump runs for at least 30 minutes after ozone generation stops. You can time the ozone to happen after you’re bathing, to ensure it has the best chance of oxidizing everything. Nobody should use the barrel while the ozone generator is operating.
For safety, all plug connections should stay elevated away from the floor of the enclosure. Use common sense when routing the cables outdoors.
Startup and maintenance
To start the system:
- Add a filter cartridge to the filter housing.
- Fill the Ice Barrel above both ports.
- Open both isolation valves.
- Confirm that gravity fills the pump and hoses.
- Turn on only the pump.
- Purge trapped air and confirm strong return flow.
- Inspect every fitting, clamp, and filter seal for water leakage.
- Run the pump for at least 15 minutes.
- Turn on the chiller and verify that its displayed temperature is reasonable.
- Test suction at the Venturi.
- Connect and clamp the ozone hose, then turn on the generator.
Every few weeks, I close both barrel valves, remove the inline strainer screen and rinse it, then replace the 20-micron cartridge if it looks pretty dirty and the flow starts to suffer. Vevor also recommends cleaning the chiller’s air filter and water-circulation components monthly.
Ozone and mechanical filtration slow the rate at which the water deteriorates, but they don’t eliminate water changes. I add 3% hydrogen peroxide to the water and change it every few months.
The result
With this setup, the barrel stays cold even on warm days. It has been holding around 54F with no bags of ice and will definitely go colder (be careful about the filter housing since it’s only rated to 40F). After a plunge it recovers on its own well before the next session, and the only routine attention it needs is rinsing the strainer and swapping the filter cartridge.
Summer 2026 update: Nearly a year on, the chiller has held up through every season. Over that stretch the outdoor temps swung from a low of 26F in winter to a high of 95F in summer, and the barrel worked fine. I still haven’t done any maintenance beyond the filters and water changes every few months. I haven’t even cleaned the chiller’s air filter (though I really should).